
I've been playing with a 3D star field lately, and what it needs, of course, is a little space ship so that you can fly around. Sounds easy enough, but it's actually quite confusing.
The controls are confusing, but this is actually caused by the camera view. Our eyes and head can move independently from our bodies (well, at least for the most of us) so we can look around without having the feeling of explicitly having to turn. We are accustomed to our Earthly environment, where we think to know which way is up, down, and expect to come back down when we jump up.
Try this:
- stand in the center of the room and look straight ahead
- shuffle your feet to spin around, keep staring straight ahead
Now, do this:
- stand in the center of the room, and look straight up to the ceiling
- shuffle your to spin around again, keep staring straight up
Feeling dizzy yet? In the first experiment, you were yawing, going around the Y axis. In the second experiment, you made the exact same movement, but you were rolling, only because you were looking in another direction (down the Z axis).
Rolling happens when you see the horizon spinning in flight sims. Rolling usually isn't present in first person shooters because it's not a very natural movement for a person to make.
Now think about relativity. What if you were standing still, then the room would have moved around you in the opposite direction. People who have a film camera know that there are two ways of filming all sides of an object; one is to walk around the object, while filming it, and the other is to hold the camera steady, while spinning the object. In computer graphics, the camera is typically held in the same spot, while the world is rotated around it. This even holds true when you'd swear there was a camera hovering above and around you, as you were blasting aliens and flying corkscrew formations to avoid missiles.
I observed there are three different ways of controlling 3D movement:
- FPS or racing game style movement;
- Space sim like movement;
- Airplane like movement.
The natural way of things is, that the player primarily looks around in the XZ-plane and may look up and down (Y direction). There is a distinction between up and down, and there is an horizon to keep that clear. In an FPS or a racing game, when the player steers left or right, it is 'yawing' (rotating about the Y axis). The sky is up, the ground is below, and there simply is no roll.
In a space sim, it is more likely you will roll the ship on its side by steering left (rotation about the Z axis). Up and down typically adjusts the pitch. There is not really an up or down, although there are probably some other objects around like ships, space stations, and planets that give you a feeling of orientation. Yawing is probably possible, but by default it flies more like an airplane, because it feels more natural like that. Because you can steer the ship in any direction you like, this kind of control is called
six degrees of freedom (6DOF).
Airplane-like movement is much like space sim movement, but there is a clear difference. Steering left will roll the airplane, and when you let go of the stick, the plane levels automatically and roll and pitch will return to zero. This is different from spaceship movement, because the airplane wants to fly 'forward', while a spaceship simply goes on into deep space in any direction you steer it.
Implementation
For the typical first person shooter style game you can get away with having a vector for your heading, and a pitch vector for looking up and down. A camera is easily implemented using only two glRotatef() calls.
For 6DOF, things are totally different. You'd say that you could add a vector for rolling, but that doesn't quite work. The reason that it doesn't work, is because rotations are not commutative. If the player does a roll, pitch, roll, yaw, and pitch sequence, you can not get this orientation right using glLoadIdentity() and three glRotatef() calls. (Note: In theory, it should be possible, but it's an incredible hassle to compute the new Euler angles every step of the way). The correct way to do it, is to use an orientation matrix.
The matrix holds the directional vectors and the coordinates for this object in 3D space. This matrix can then be loaded and used directly in OpenGL by calling glLoadMatrixf() or glMultMatrixf(). Manipulating the matrix is easily done through calling glRotatef() and glTranslatef(). Behind the scenes, glRotatef() and glTranslatef() are matrix multiplications (in fact, the transformation matrices are documented in the man pages) (1).
A single 4x4 matrix multiplication consist of 64 floating point multiplications. When you do incremental rotations without resetting the matrix to identity every now and then, the many floating point multiplications will eventually cause small rounding errors to build up to big errors. This leads to an effect known as gimbal lock. When gimbal lock occurs, the errors in the matrix have become so large that the spaceship can no longer be controlled.
Microsoft Freelancer was a pretty cool game, until one day I ran into gimbal lock right after saving a game. Loading up the saved game would throw you right into gimbal lock again, completely ruining the game.
A way to prevent gimbal lock is to make the matrix orthogonal every once in a while. Orthogonalizing a matrix is such a big mathematical hassle that practically no one is using this technique. So, just forget about that and read on.
There is another way of storing orientation and computing rotations, that does not suffer from gimbal lock. This is done with quaternions. Quaternions are a neat math trick with complex numbers that allow you to do vector rotations, just like with matrices, only a bit different.
Remember from elementary math class that a * a (or a squared) is never a negative number? Well, for complex numbers someone has thought up that i squared equals -1. As a consequence, a whole new set of interesting possibilities opens up, among which quaternions, which are 4D vectors in complex space that can be mapped back into a 3D matrix for use with OpenGL.
The quaternion stuff is quite hard to grasp when you try to understand the math (I guess "complex numbers" aren't called "complex" for nothing). However, if you just go and use them you will probably find that they are not that different from working with matrices.
I'm not going to duplicate the code here, there is some excellent description and quaternion code available here:
GameDev OpenGL Tutorials: Using Quaternions to represent rotation. Go read it if you want to know more, and you should know that I think this code is better than the one in NeHe's quaternion tutorial, which apparently has the sign of the rotations wrong.
- Note that many 3D programmers write matrix multiplication code by themselves, but this is not always necessary since you can use OpenGL's functions to do the matrix math. An advantage of rolling your own is that you can do some matrix calculations even before an OpenGL context has been created, so before OpenGL has been initialized. Your code will generate an exception/segmentation fault if you call OpenGL before having created a context.
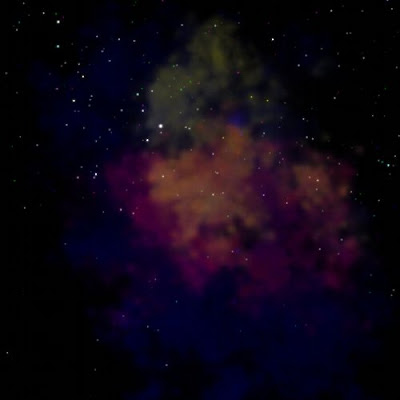


 Last time, I talked about how to render a random nebula. As a final remark, I stated that the nebula had no shape; the plasma simply fills the entire image to its boundaries. The result is that you end up with a texture that is unusable; you can not have a nebula in the starry sky that is shaped perfectly like a square. So, we need to give it a random shape.
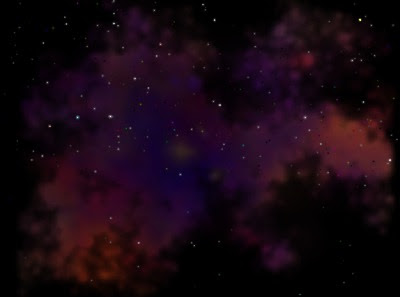
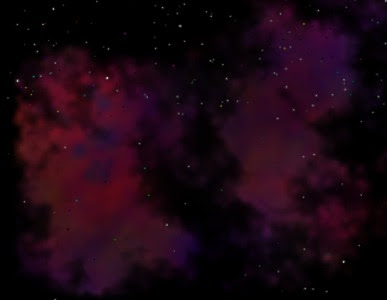
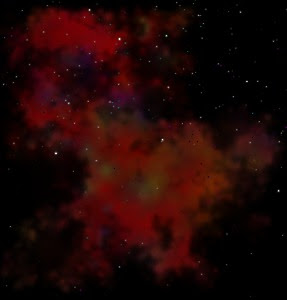

 As I wrote in my previous post, I'm playing with a random 3D star field lately. To this star field, I like to add some nebulae to fill the black void of space. Previously, I worked with dozens of photos of existing nebulae from NASA. This time, I decided I want the scene to be entirely fictional, so there is no place for real nebulae.
 Although it's just a boring gas cloud, I'm quite happy with it. Not everything is well though; the plasma renders into a square and therefore, there is a square nebula in the sky. To make it perfect, the nebula must be given a random shape and fade away near the edges of the texturing square.
 I've been playing with a 3D star field lately, and what it needs, of course, is a little space ship so that you can fly around. Sounds easy enough, but it's actually quite confusing.